How to Configure Squid Server in Linux
Squid is a proxy server. It can cache content, filter and monitor web traffic, reduce Internet data usage, and optimize network bandwidth. You can use it to control Internet usage in a network. With it, you can define who can access what from the Internet at what time. You can also use it to improve the Internet speed by caching. If you enable caching, it stores visited web pages and downloaded files in cache directories and serves subsequent requests from them. For example, suppose you implement it in a network with several computers. The same OS is installed on all computers. An OS update is available. You download and install updates on the first computer. Squid caches the downloaded files. When you download the updates on the second or next computer, it does not download them again from the Internet. It severs them from the cache directories. This way, it reduces Internet usage and speeds up downloads, as you do not need to download the same content repeatedly. You can also use it to control what users can access from the Internet. For example, if you want users to only access web traffic, you configure Squid to allow only web traffic. This tutorial explains how to configure Squid as a proxy server for caching and allowing only web traffic.
Installing Squid Proxy Server
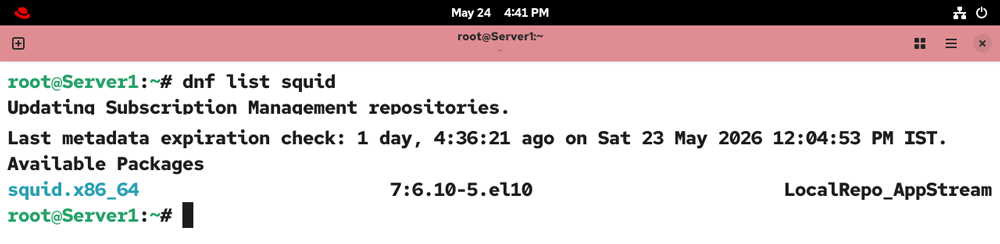
Squid is not part of the default installation. Use the following command to know whether it is installed on the system.
#dnf list squid
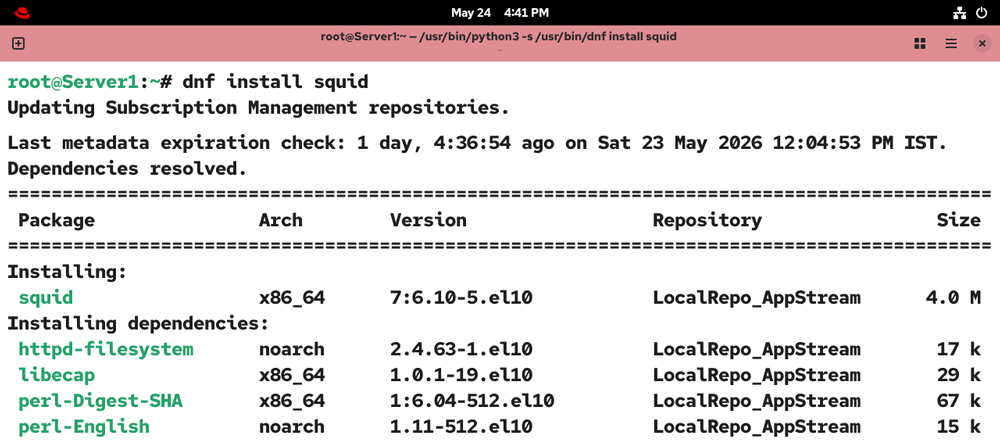
If it is not installed, run the following command to install it.
#dnf install squid -y
Configuring Squid Proxy Server
The /etc/squid/squid.conf is the main configuration file of Squid. Before you modify or update this file to fulfill your specific requirements, create a backup of the original configuration file.
#cp /etc/squid/squid.conf /etc/squid/squid.conf.bk

After creating the backup, open the configuration file for editing.
#vim /etc/squid/squid.conf

The 'acl localnet src' directive defines the allowed IP range. The default configuration allows many IP ranges.
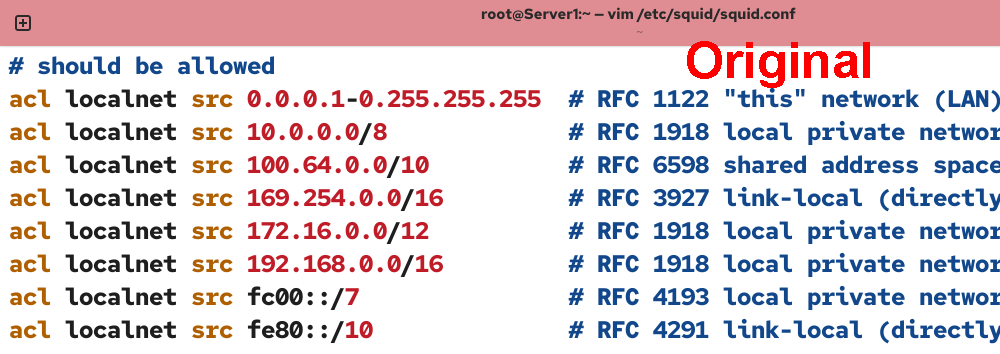
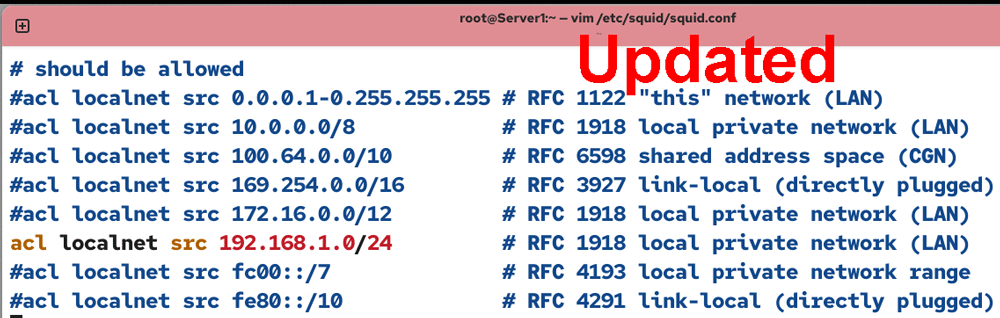
Disable all allowed IP ranges and enable or add only the IP range your network uses.
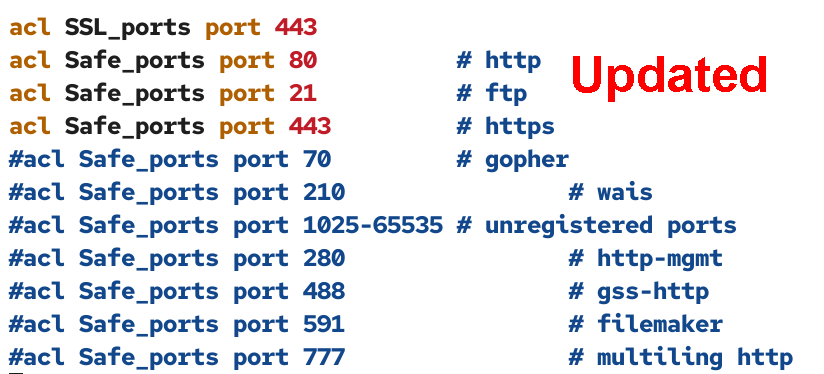
Similar to IP ranges, the default configuration allows many ports. Disable all unnecessary ports.
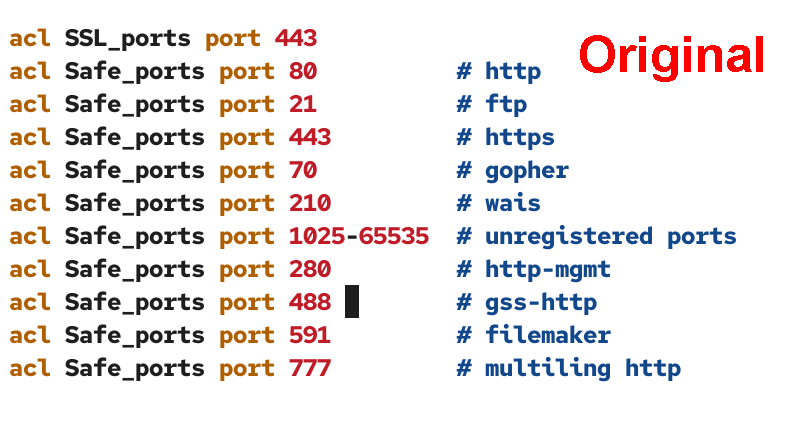
The 'acl SSL_ports 443' directive allows encrypted traffic on port 443. By default, it is allowed. Keep directive enabled. Ports 80, 443, and 21 are used for web traffic. Keep these ports enabled. Apart from these, disable all ports.
Next, enable the directive that implements the configured ACL. By default, it is disabled.
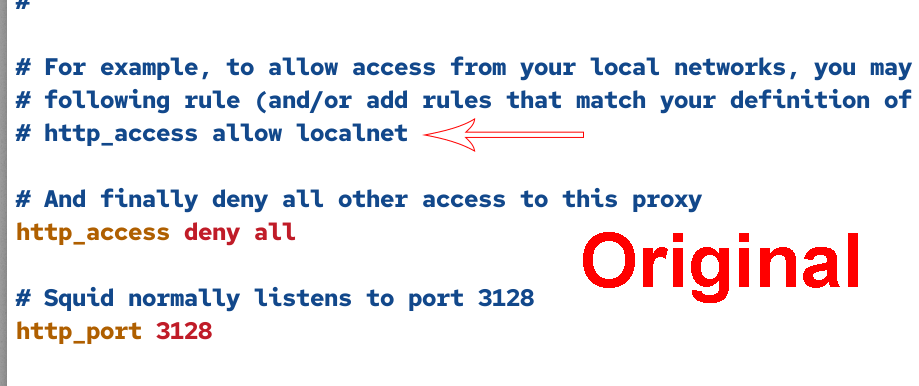
Enable the 'http_access allow localnet' directive.

By default, caching is disabled.
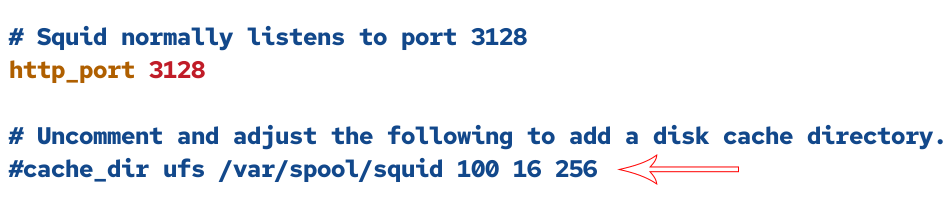
To enable caching, uncomment the following directive.

This directive uses the following values.
| ufs | It is the cache type |
| /var/spool/squid/ | It is the default location where cache files are saved. To use a different directory, specify that directory’s path here. |
| 100 | It is the maximum cache size in MB. |
| 16 | Squid creates cache directories at two levels. This number defines the first-level directories. |
| 256 | The number defines the second-level directories. |
By default, it saves cache files in the ufs format in the /var/spool/squid directory. To store cache files, it creates 16 first-level directories, each containing 256 directories. You can use default values or adjust them as per your requirements. The one value you could adjust is the cache file size. The default cache file size is very small. You can adjust it to 1 GB.
By default, Squid listens on port 3128. You can use the default port or use a custom port.

Adjust all values and save the file.
Allowing Squid via the firewall
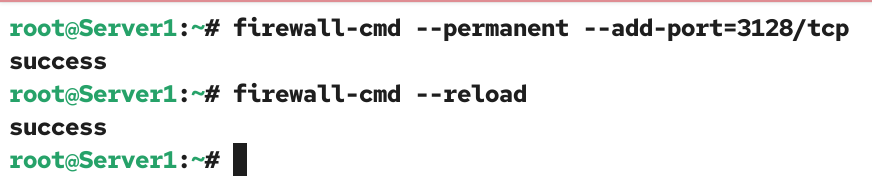
The default firewall configuration prevents Squid from accepting connections on the default port. Use the following command to open this port.
#firewall-cmd --permanent --add-port=3128/tcp
#firewall-cmd --reload
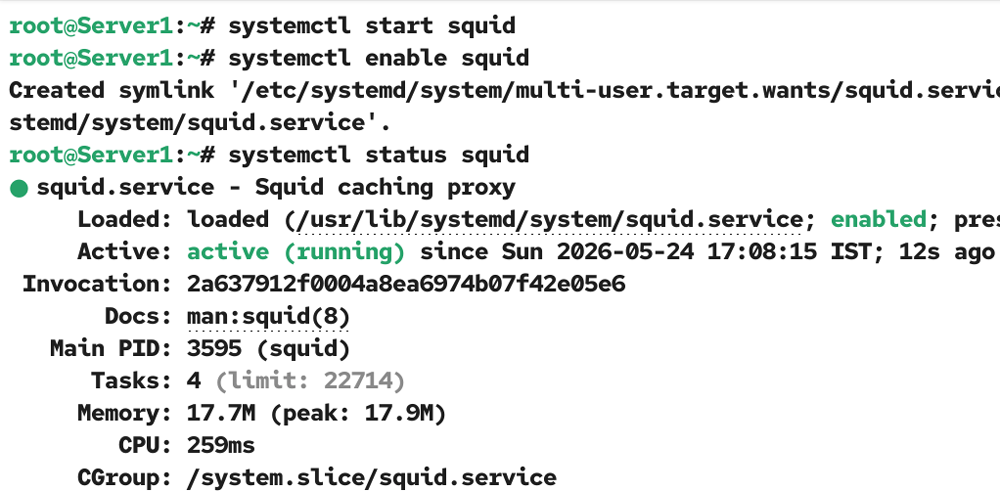
Squid reads the configuration file when it starts. The following command starts the Squid service.
#systemctl start squid
If the service is already running, use the following command to restart it.
#systemctl restart squid
The following command enables it at boot time.
#systemctl enable squid
The following command shows the current status of this service.
#systemctl status squid
Verifying Squid Proxy server
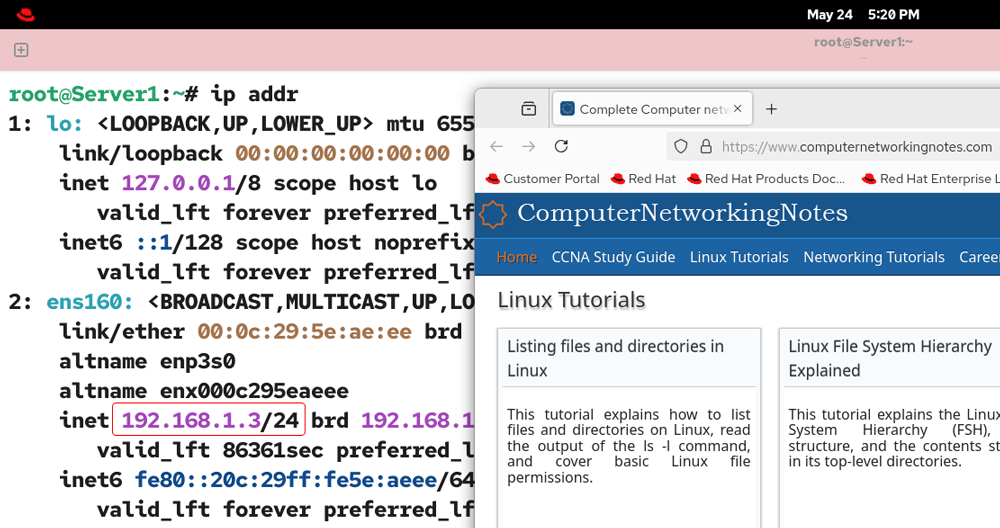
Open the web browser and access any website to confirm the system is connected to the Internet. Then, run the following command and note down the IP address of the system.
Run the following command to verify that Squid is running and caching the web pages.
#curl -O -L "https://www.google.com/index.html" -x "192.168.1.3:3128"
Replace the IP address with the IP address noted above.
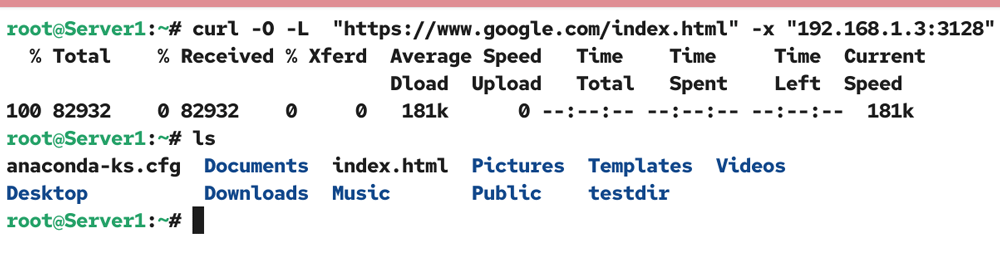
This command downloads the index.html file in the current directory. Since the connection request is processed through the Squid Proxy server, the downloaded page is cached for subsequent visits.
Conclusion
Squid Proxy Server offers a powerful solution for managing and optimizing network traffic. By configuring Squid for caching and restricting access to only necessary web traffic, you can significantly reduce bandwidth usage, speed up downloads, and gain better control over your network resources. With proper setup and tuning, Squid can enhance both security and performance. This tutorial explained how to configure, test, and verify Squid on RHEL.
By ComputerNetworkingNotes Updated on 2026-05-25