How to Configure VNC Server in Linux
VNC (Virtual Network Computing) allows you to remotely connect to a system. It supports a GUI interface. It provides a user-friendly way to manage files, software, and settings on a remote machine. This tutorial explains how to set up a VNC server with TightVNC on an Ubuntu server and connect to it securely through an SSH tunnel.
Usually, administrators do not install a graphical desktop environment on Linux servers. VNC uses a GUI environment in the session. If a GUI desktop is not installed on the system where you want to install the VNC server, you need to install it before installing VNC. Ubuntu supports many desktop environments. You can choose any one of your choice. This tutorial uses Xfce. Xfce is lightweight and fast. It provides a stable, smooth GUI environment in a remote session.
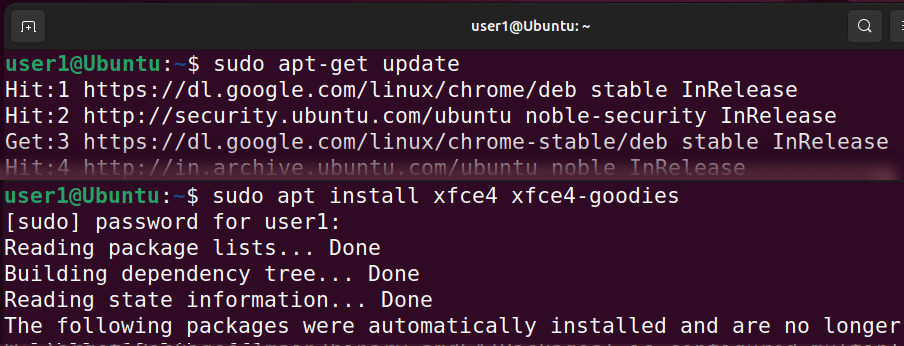
sudo apt-get update
sudo apt install xfce4 xfce4-goodies
The first command updates the repository database. It ensures that only the latest packages are installed. The second command installs two packages: xfce4 and xfce4-goodies. The xfce4 package provides the Xfce desktop environment. The xfce4-goodies package includes a few enhancements for the desktop environment.
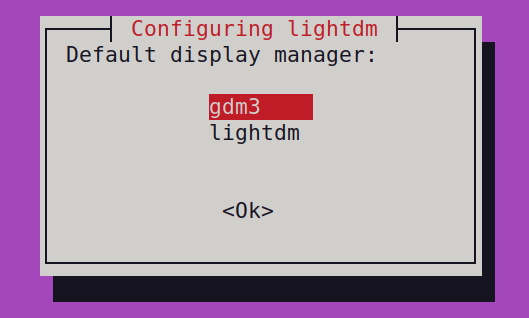
The installation process prompts you to choose a default display manager for Xfce. A display manager program lets you select a desktop environment via a graphical interface. Since you will use only the Xfce desktop while connecting to the VNC server, you can select any option here.
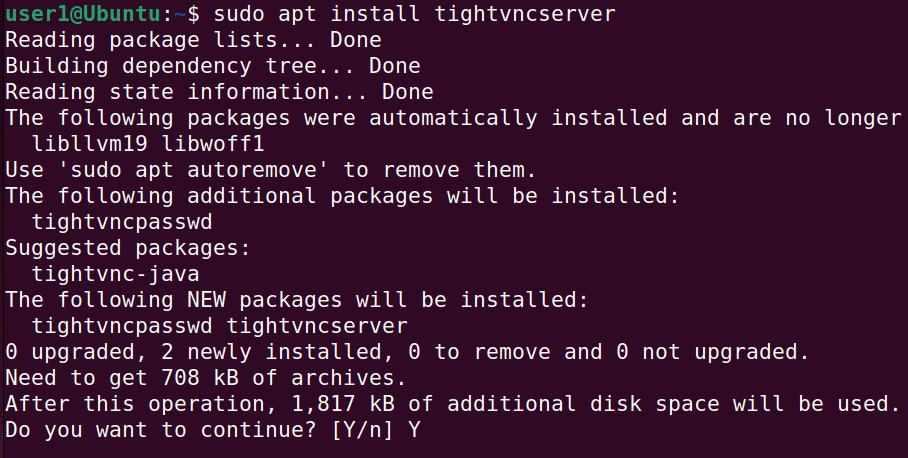
After installing the default desktop environment for the VNC connections, install the VNC server component. The following command installs the VNC server.
sudo apt install tightvncserver
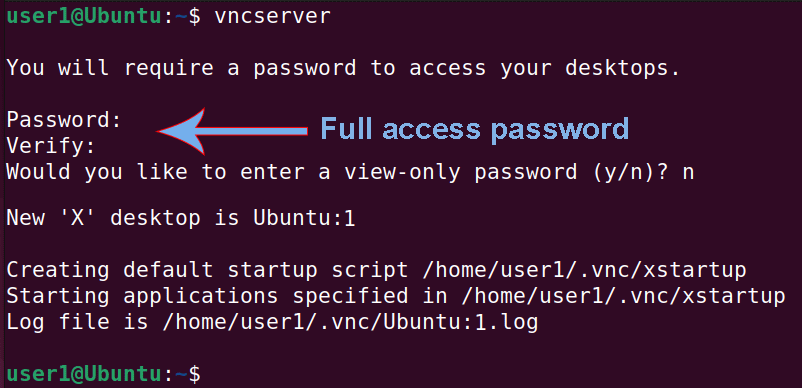
After installing the VNC server, use the following command to start it.
vncserver
This command creates initial configuration files, connection information, and starts a VNC server instance. You can launch multiple instances. It uses port 5900 in incremental order to start instances. For example, if you start three instances, it will use port 5901 for the first, 5902 for the second, and 5903 for the third. This port is called a display port. In the VNC configuration, it is referred to by the instance number. For example, :1 refers to port 5901, :2 refers to 5902, and so on.
This command also prompts you to set and verify a VNC access password. You need this password to remotely access the VNC server from the VNC client. The maximum length for this password is 8 characters. This password grants full access to the user. Users who log in with this password have full access to the server. They can create, modify, and delete files. They can also change system settings.
This command also lets you set a no-access or a view-only password. Users who log in with the view-only password cannot make any changes to the server. They can only view what is on the VNC server’s screen. You can set and use this password to demonstrate something.
If you ever need to change these passwords, use the vncpasswd command. The vncpasswd command lets you change your VNC access and view-only passwords.
At this point, the VNC server is up. However, you need to make a few configuration changes before it can accept connections from VNC clients. You need to tell it which desktop environment to use to start a VNC session. VNC saves configuration files in the .vnc directory. It keeps this directory under the user’s home directory. If a startup file is not present, VNC automatically generates it when you start a VNC server instance. However, the default startup file does not point to the desktop environment you installed for this purpose. You installed the Xfce desktop environment for this purpose.
Create a custom startup script that instructs the VNC server to use the Xfce desktop and place it in the VNC configuration folder. VNC reads configuration files when it starts an instance. To start an instance with the new configuration, you need to restart it.
The following command stops the running instance.
vncserver -kill :1

The following command creates a backup of the default startup file.
mv ~/.vnc/xstartup ~/.vnc/xstartup.bak
The following command creates a new script file.
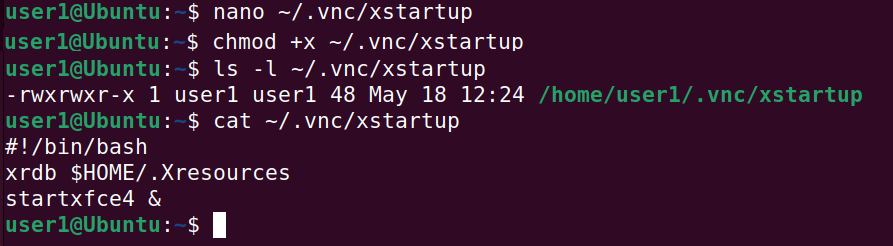
nano ~/.vnc/xstartup
Add the following lines to the script file.
#!/bin/bash
xrdb $HOME/.Xresources
startxfce4 &
Press CTRL + X, Y, then ENTER to save and close the file. Make the script file executable.
chmod +x ~/.vnc/xstartup
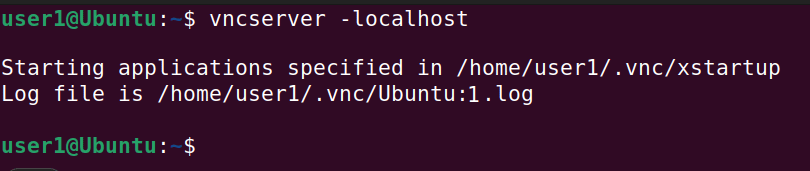
To secure a VNC connection, you can bind it to the localhost. After that, you cannot access it directly. You can access it only via SSH.
vncserver -localhost
To access a VNC server, use the following command on the VNC client.
ssh -L 59000:localhost:5901 -C -N -l user_name vnc_server_ip
Replace the user_name with the username of the user account you have on the VNC server. Specify the VNC server IP at the place of the vnc_server_ip.
Conclusion
VNC provides a reliable and user-friendly solution for remote graphical access. This tutorial explained how to set up a VNC server on Ubuntu. By following these steps, you can efficiently manage your server with a full-featured GUI while maintaining security and performance.
Author Laxmi Goswami Updated on 2026-05-19